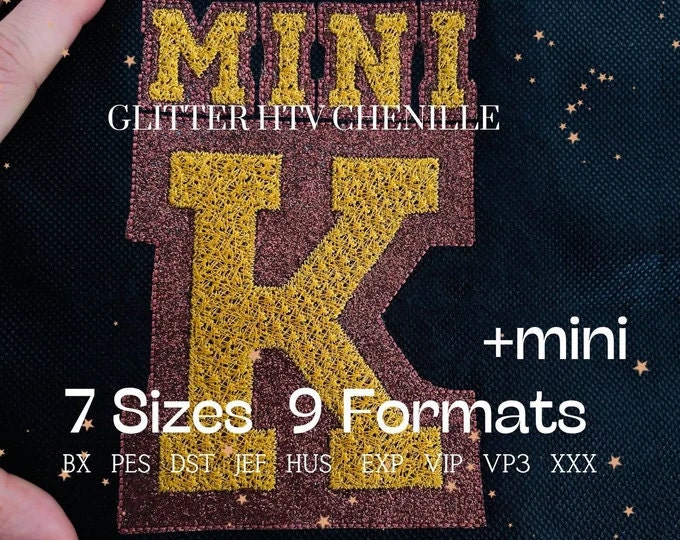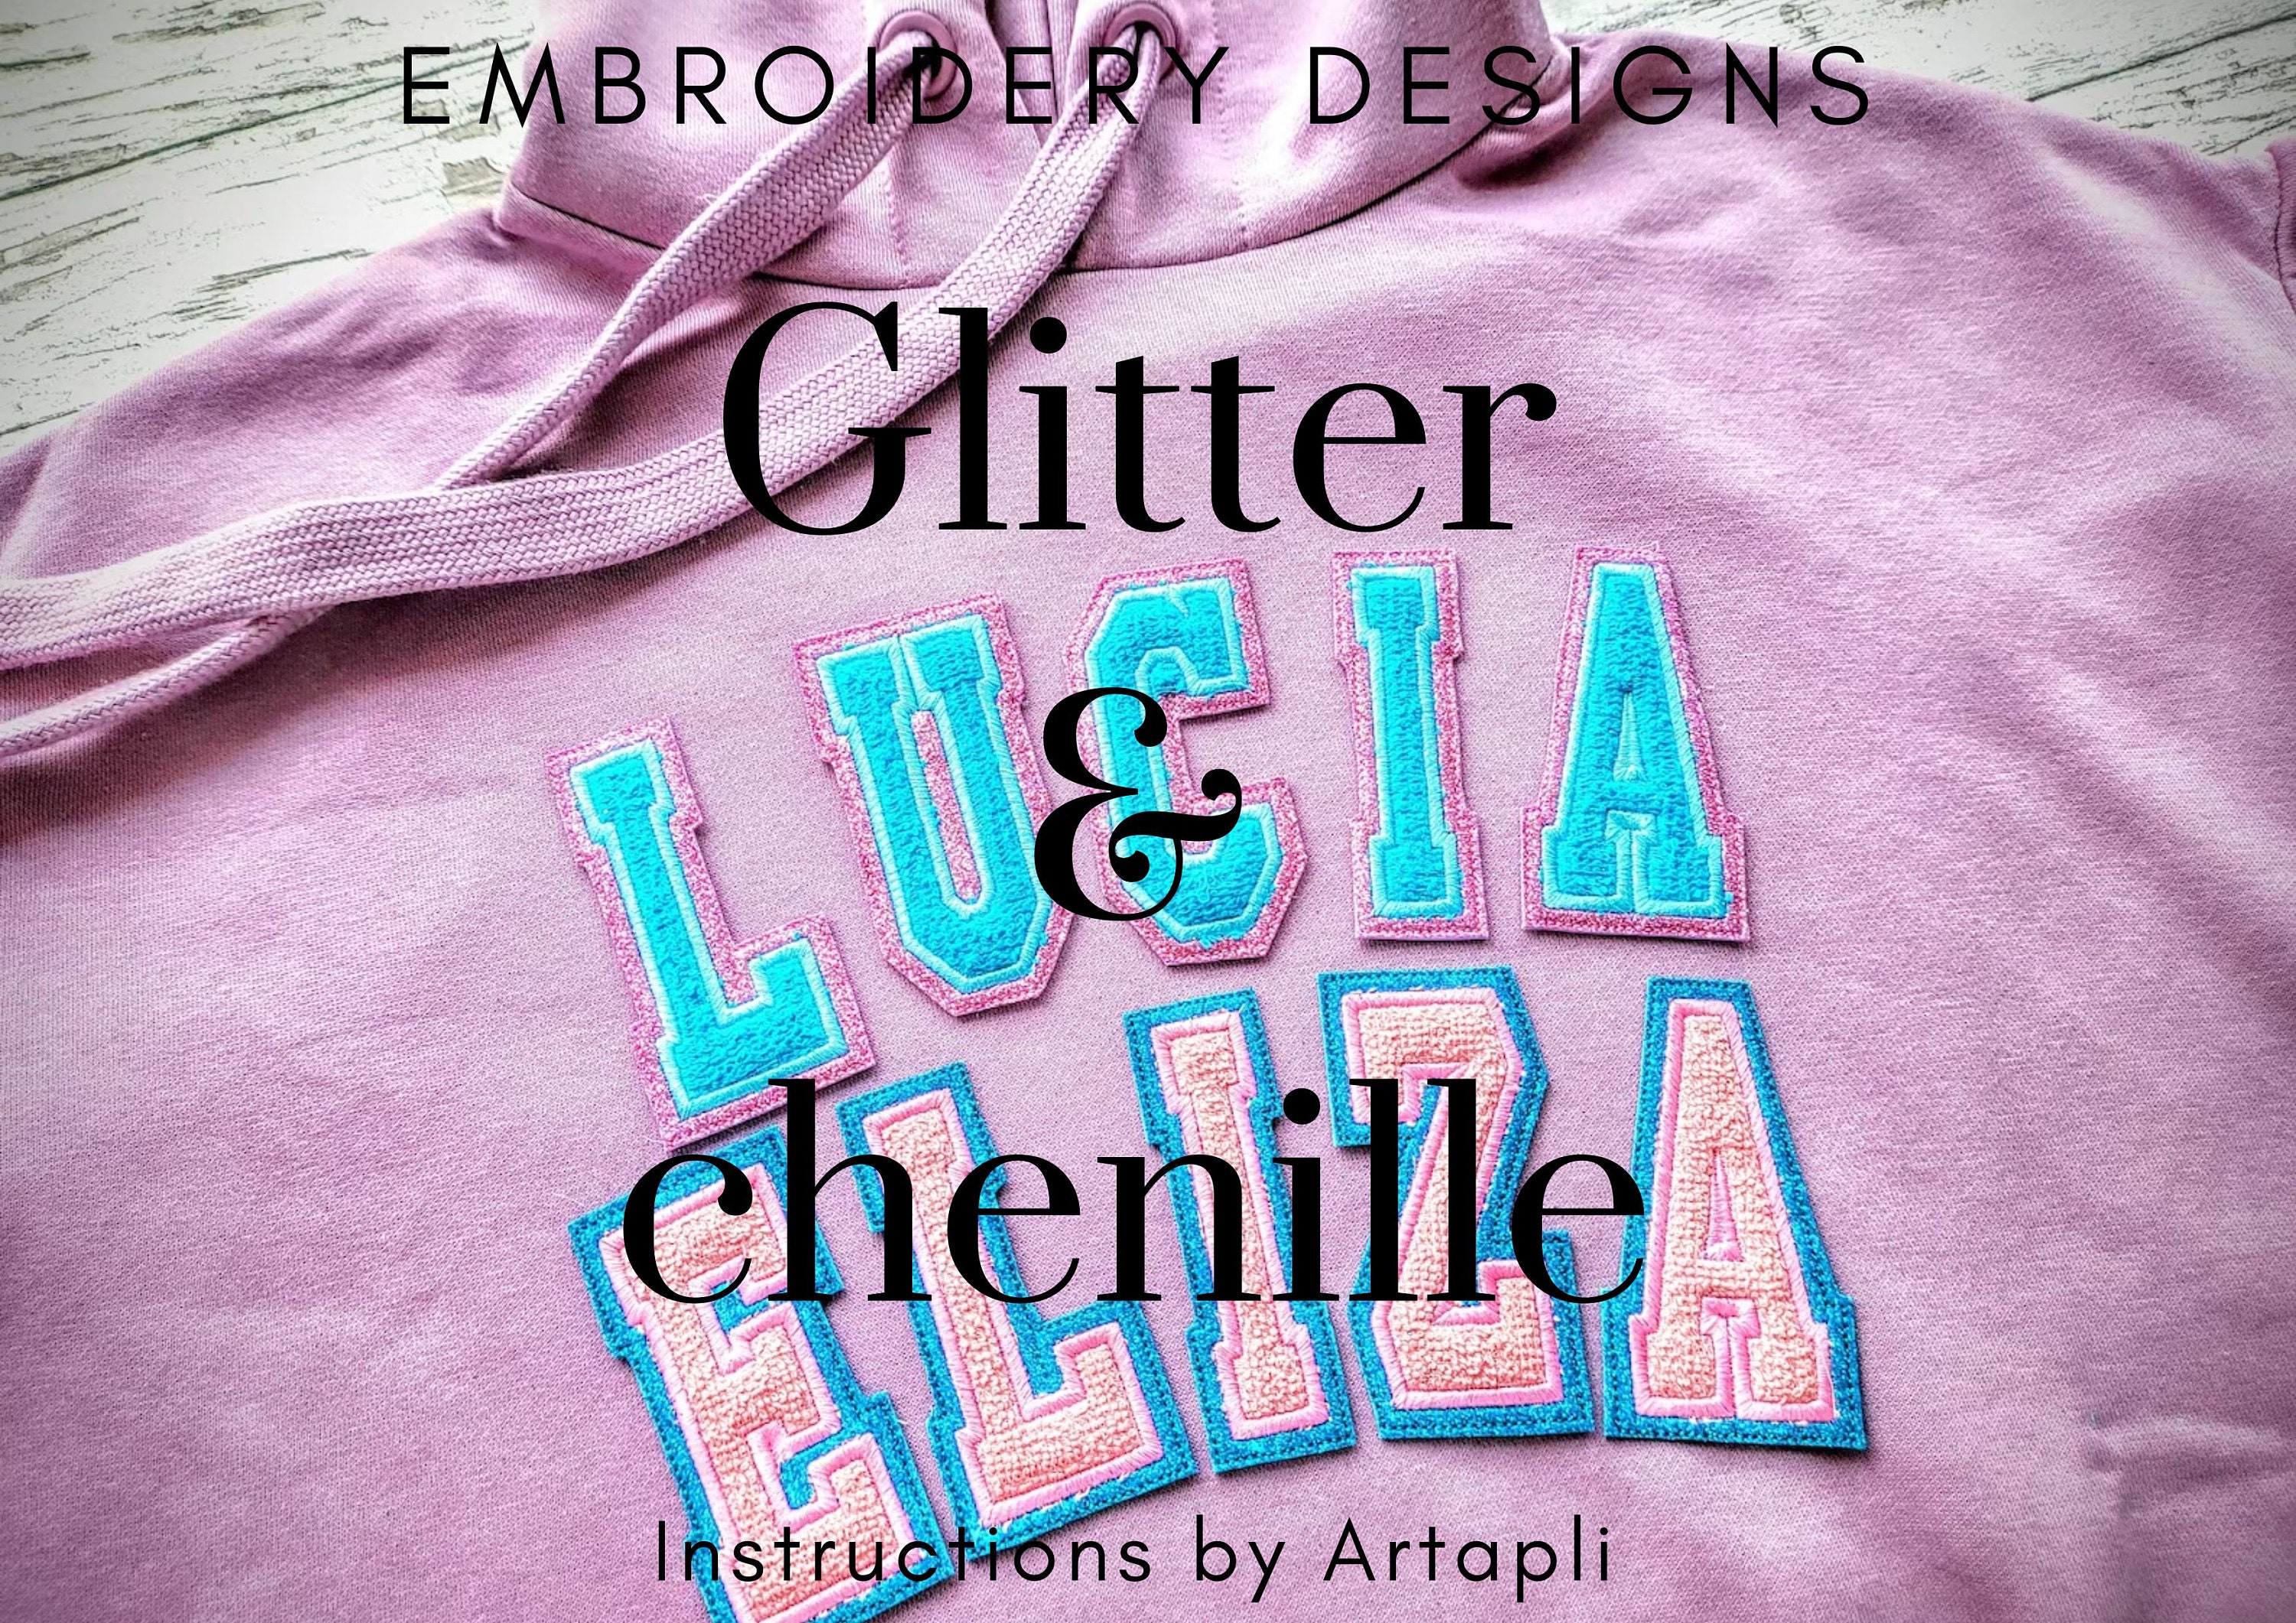
Glitter HTV in embroidery
Let's make it directly on the item (preferred) or as a “patch”, which may be attached to the item later.

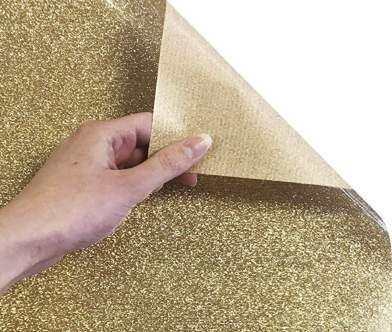
How it looks like - Glitter HTV (Heat Transfer Vinyl) rolls for shirts and fabrics or any other HTV vinyl.
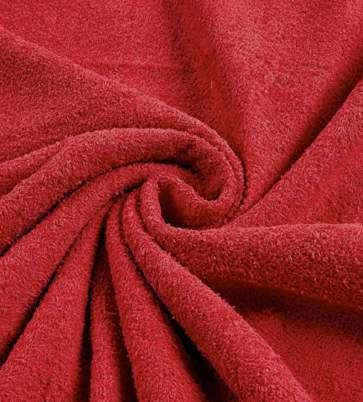
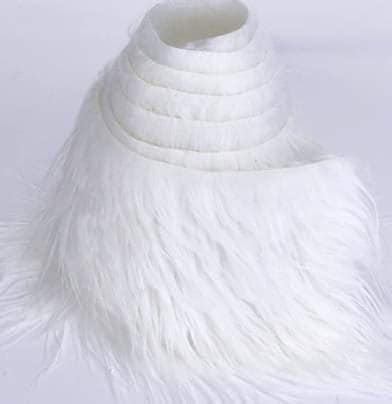
For the inner letter, it is possible to use a minky fabric (picture below), terry, faux fur, or any other. Please make sure the fabric is good for ironing at the required temperature so the HTV adheres to the fabric.
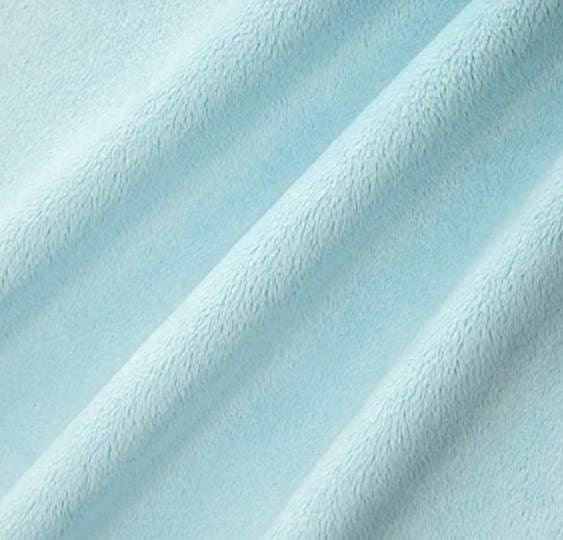
Terry towel fabric:
or faux fur:
Chapter 1. EMBROIDERY ON GARMENT
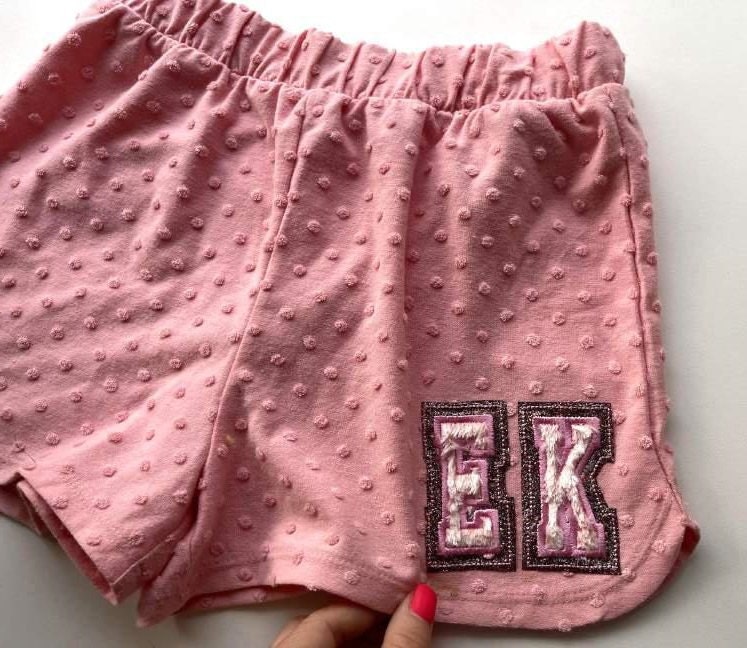
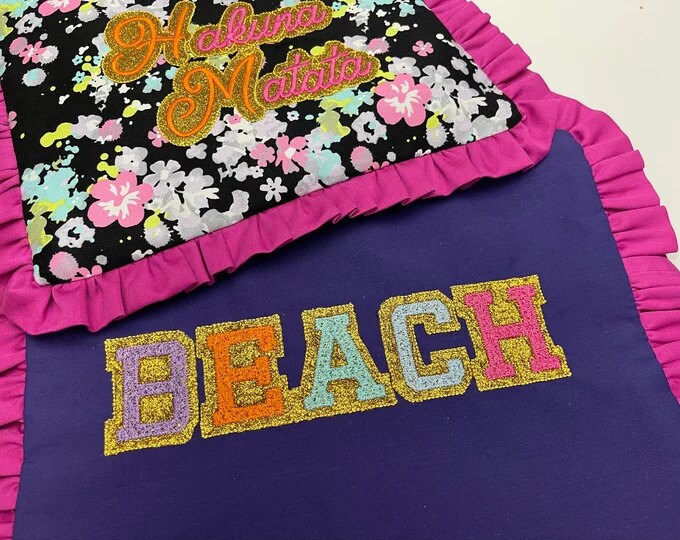
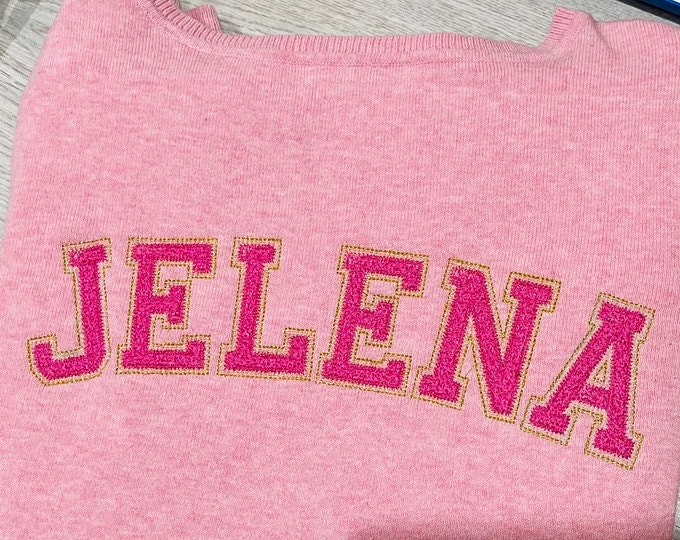
In the photo below, the Shirt letters are sewn on and on shorts - are adhered.
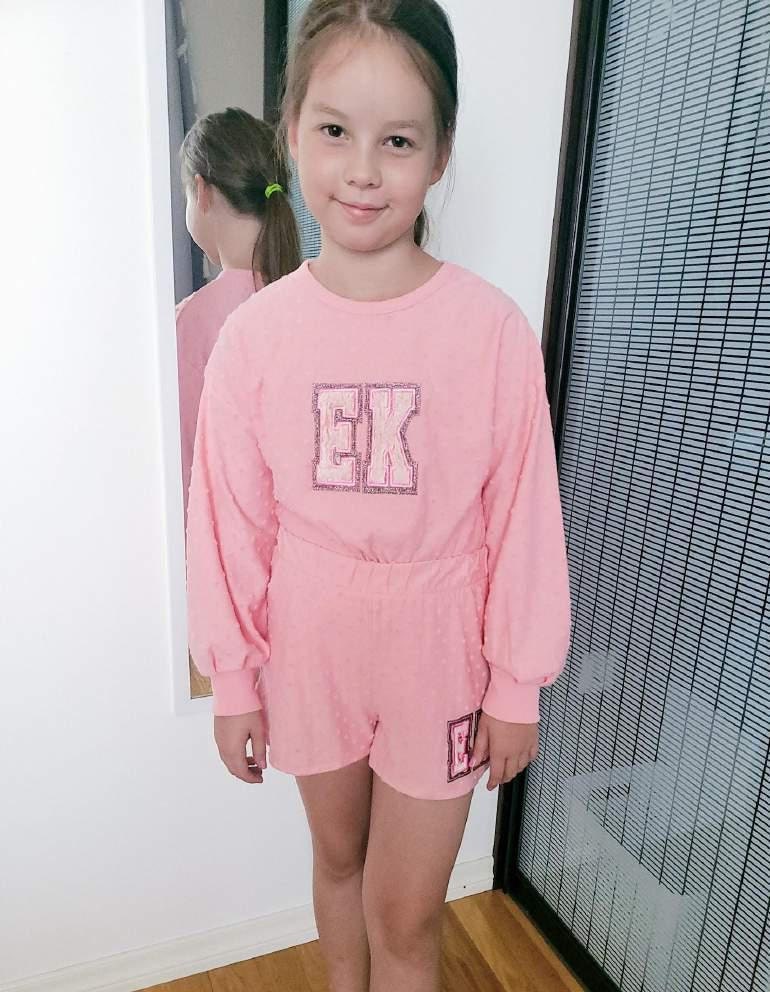
There are many different ways to work with glitter. I recommend stitching the glitter directly to the garment to prevent an unwanted accidental glitter tear, it is kindly soft and thin. Also, it is possible to make patches and iron onto the item, but this requires special attention, depending on the glitter you have got, always do a test before, due as special fabrics may act differently.
Hoop your item and thread the machine.

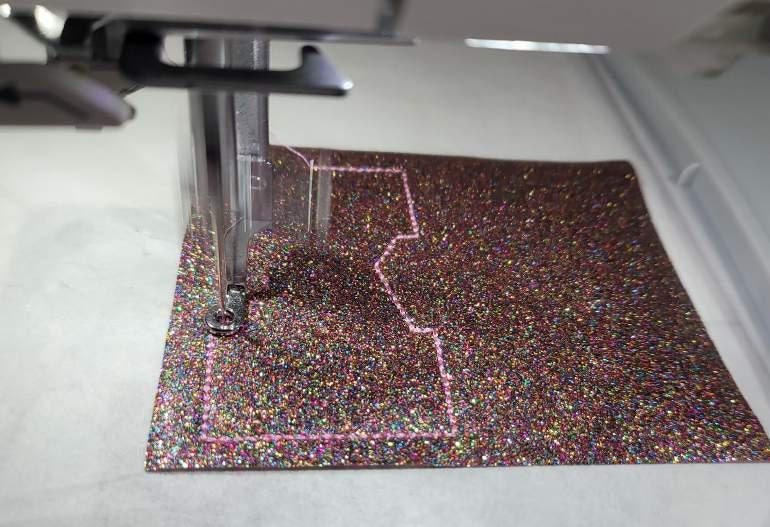
This design starts with the outline tack-down stitch to save time.
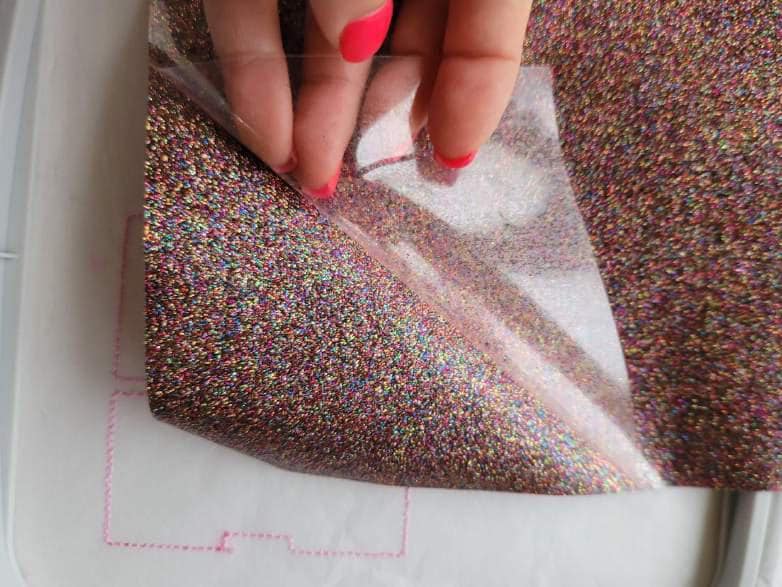
You may run it as a placement to indicate the position and then step back in the design. Take a piece of scrap HTV and remove the carrier sheet.
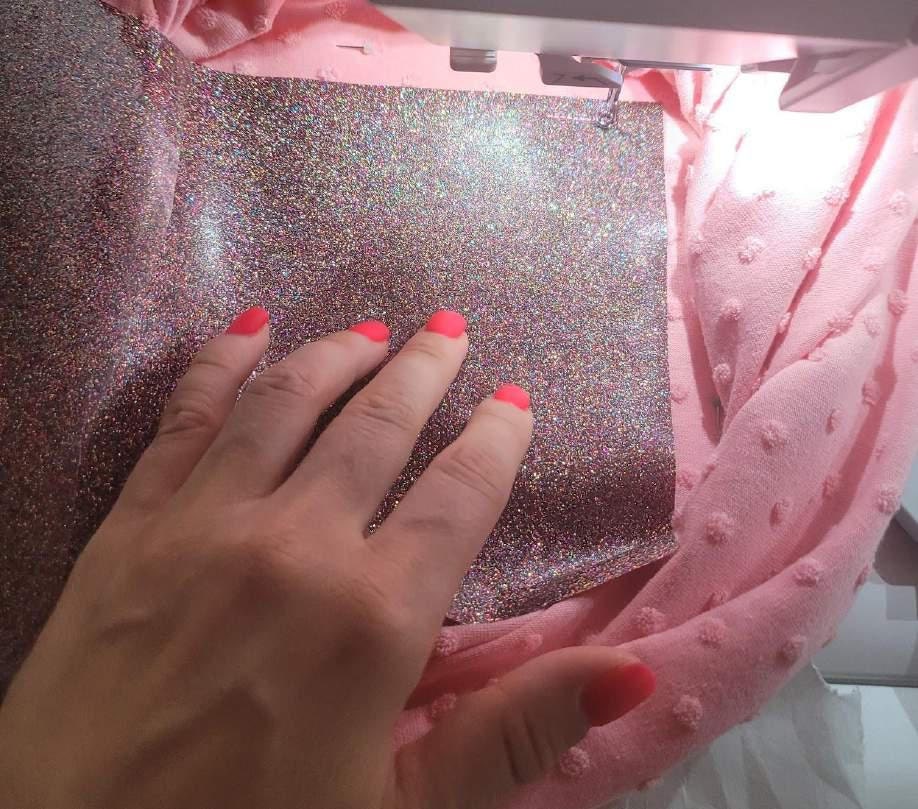
I am using a piece of glitter HTV. Lay the heat transfer vinyl piece directly on the fabric over the placement stitch.
The adhesive helps it stay in place while you sew the tackdown stitch. Continue stitching as usual applique designs.
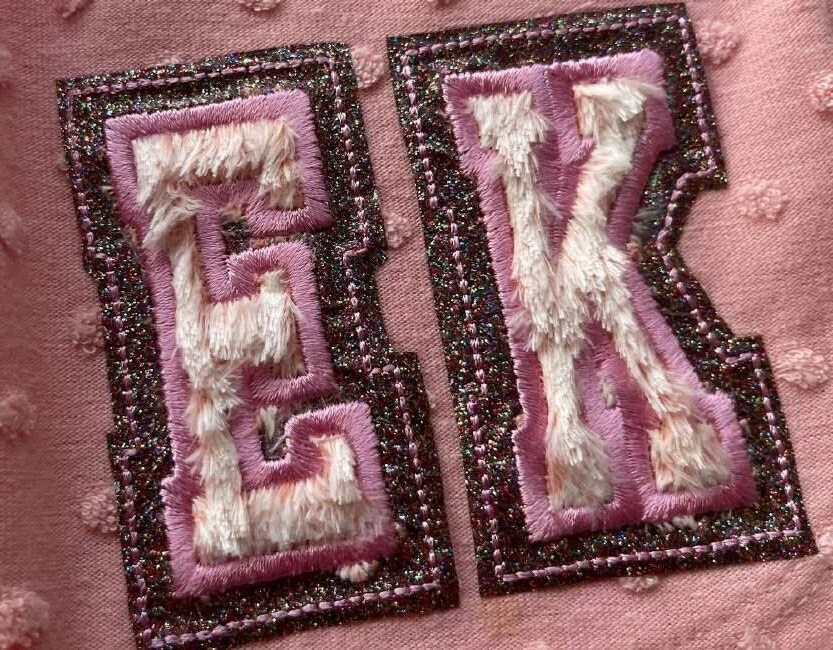
Inner (fur) letter position run stitch will be next. Lay the fur fabric right inside the shape and tack down it with the next color, as shown in the photo below:
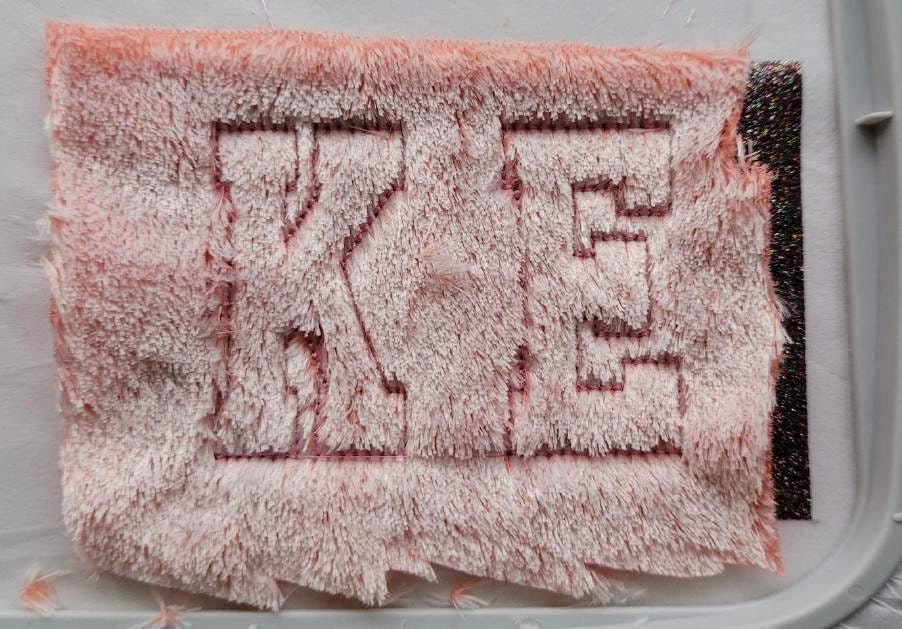
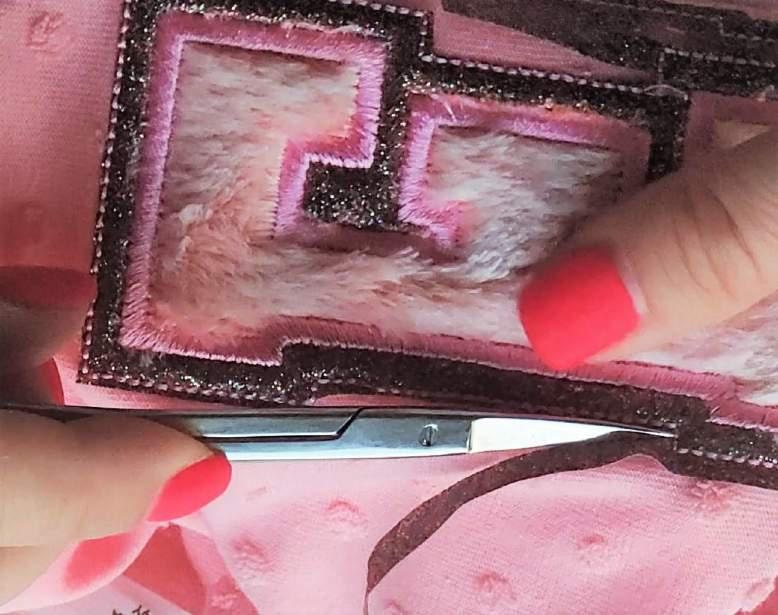
Trim around the letters as close as possible to the seam.
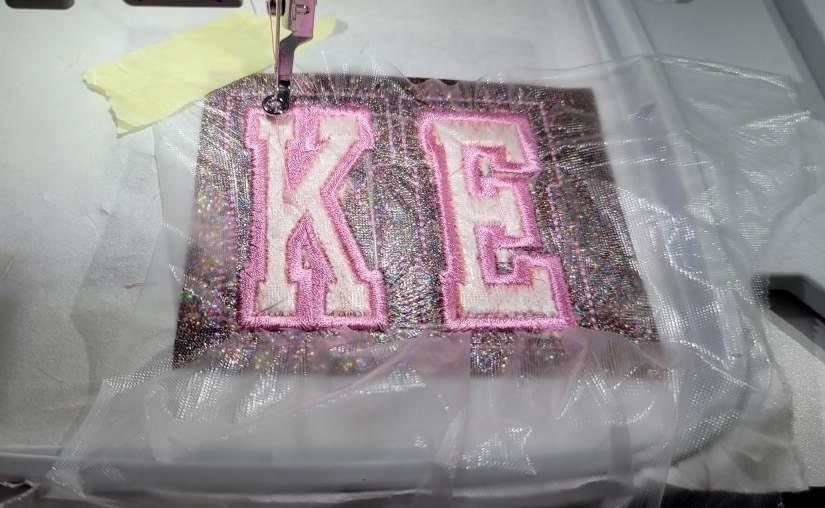
Stitch the satin outline to finish the fur fabric edges.
Trim the glitter along the stitch before ironing.
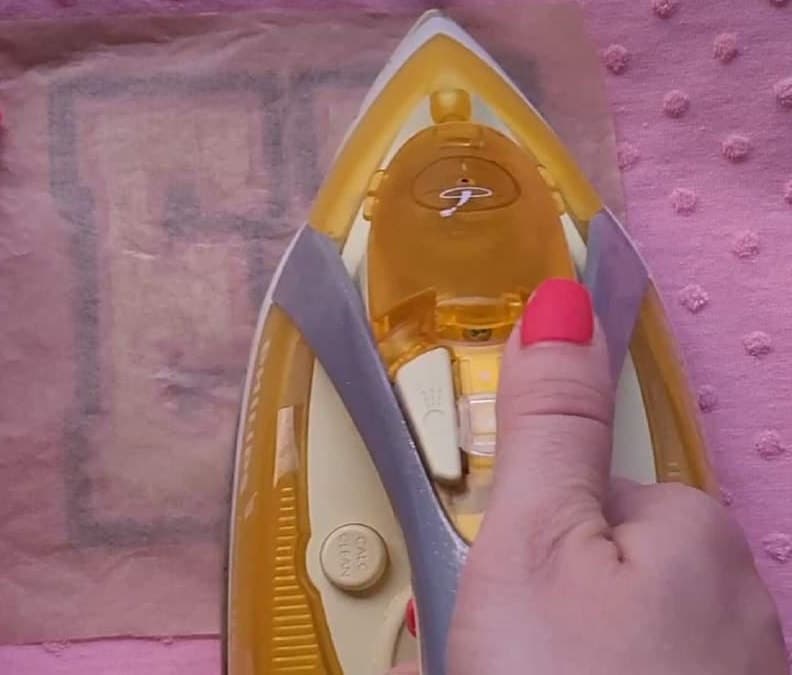
Ironing. Press down on your iron and apply pressure to each part of the design for around 10-20 seconds. Some types of HTV will require more or less heat. Press and hold, and move to the next area. For this reason, it is recommended to cover your garment with a cover sheet, or craft paper, which will prevent burning your garment.
Chapter 2. PATCH MAKING
This is good when it is not possible to stitch directly on the item, but remember you should be able to iron this with the required temperature so HTV adheres to the fabric.
Patch making is the same as described above. Hoop tear-away light weight or medium weight stabilizer, due as you will need easily to remove the stabilizer later.
Lay on a scrap HTV with an already removed carrier sheet.
Tack down the glitter sheet, with standard needle 75/11 and thread 40wt.
After the placement stitch is completed, you can unsnap the hoop from the embroidery machine. Do not unhoop your project yet.
Continue stitching as usual applique designs. The inner letter position run stitch is to indicate the fabric. Lay the fur fabric right inside the shape and tack down it with the next color:
Trim around the letters as closely as possible. Stitch satin outline to complete the fur fabric edges. Use the Water soluble stabilizer (WSS) for neat results and keep the fur in control while stitching.
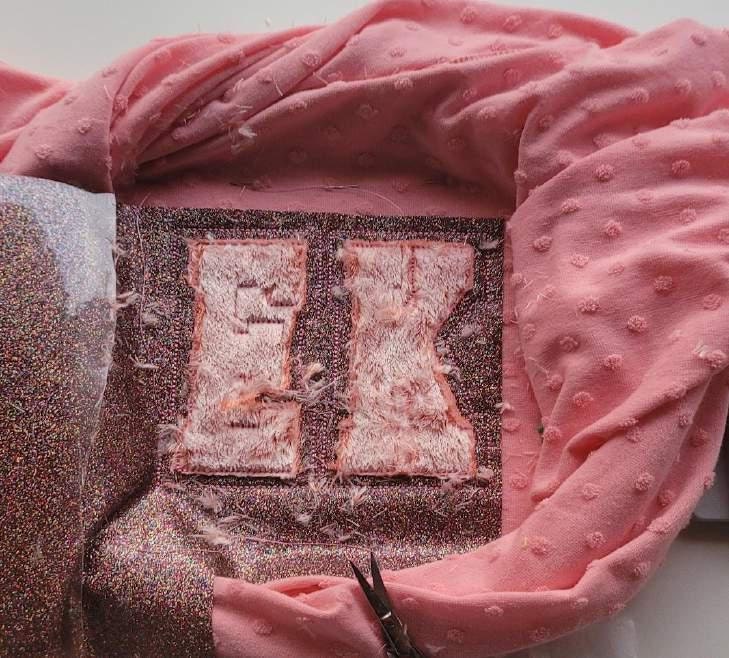
Gently tear away the stabilizer:
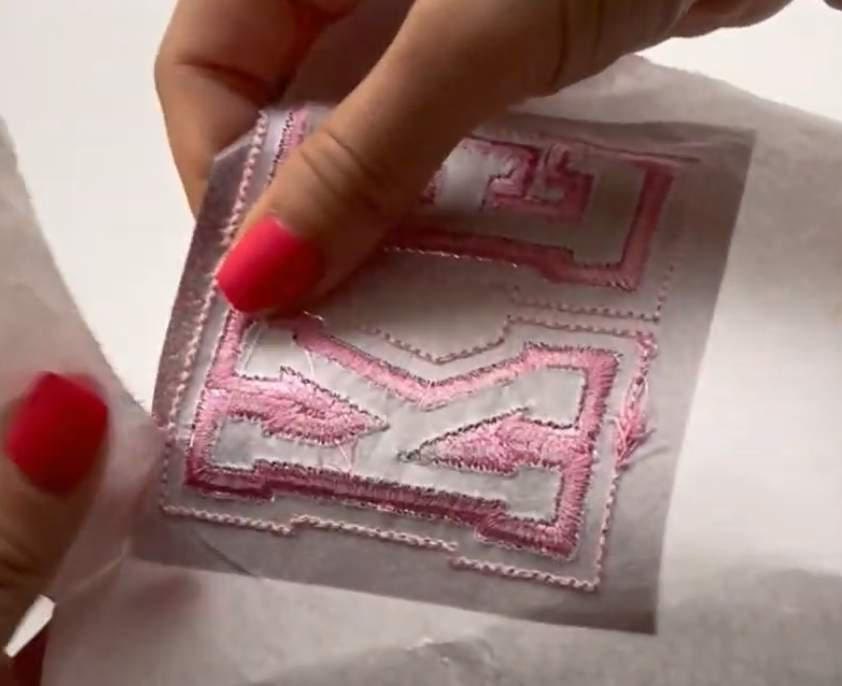
Remove all possible tear-away pieces to allow the patch adheres better

I did not try the FSL stabilizer option, guess it would work perfectly.
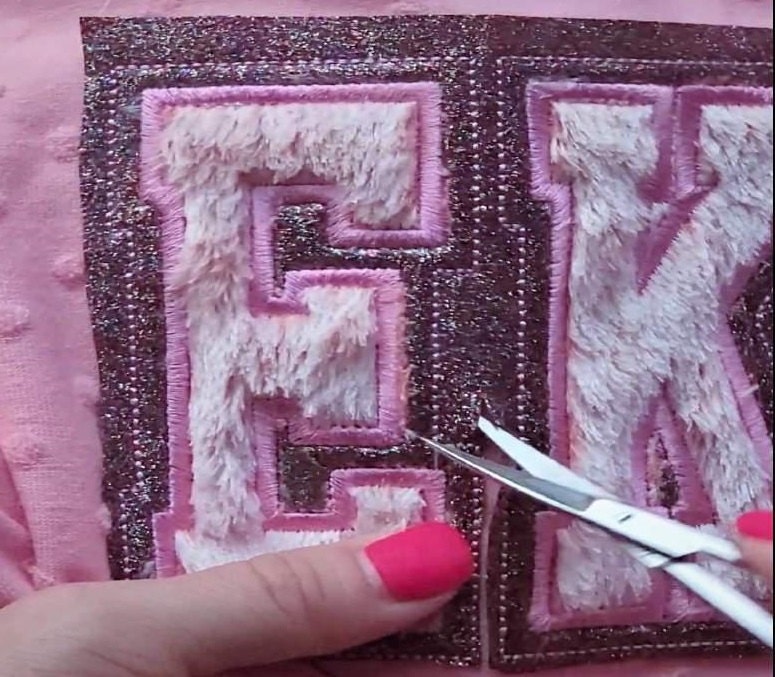
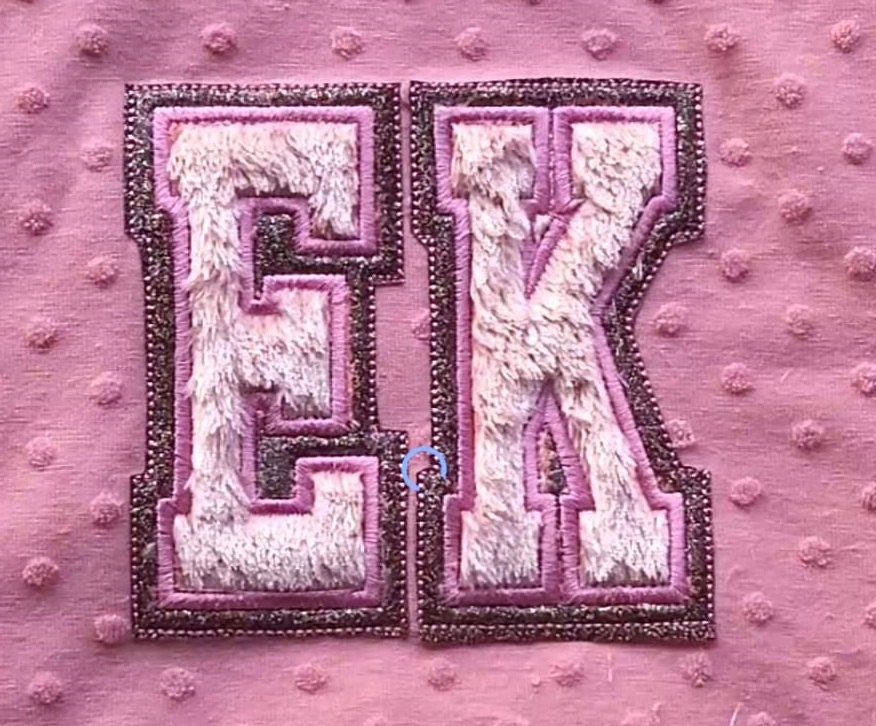
Cut out the shapes.
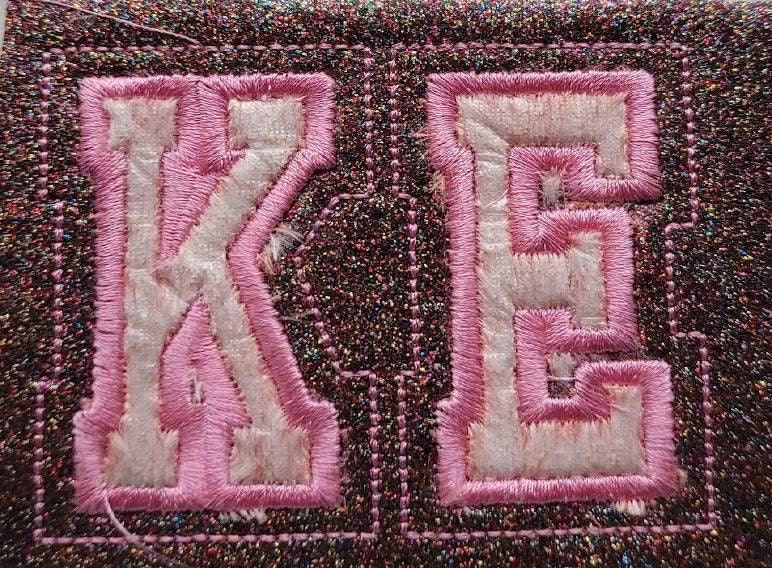
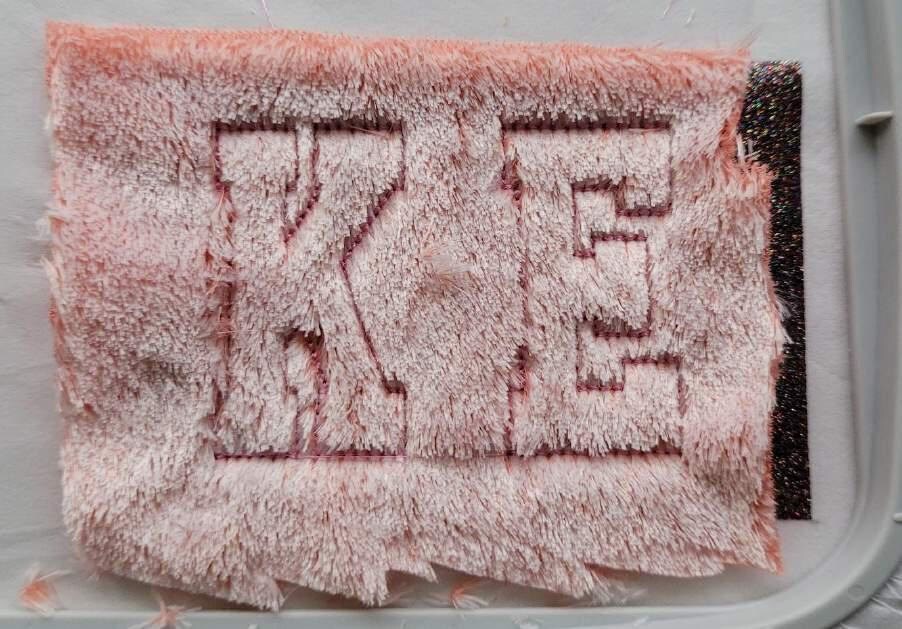
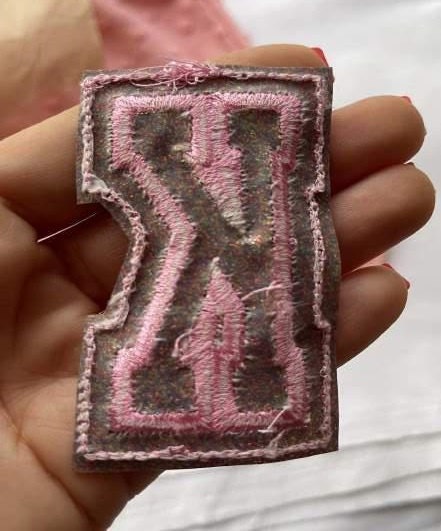
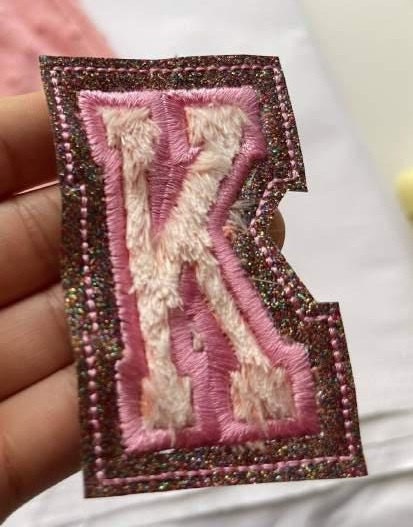
How looks the rear and front of the “patch”:
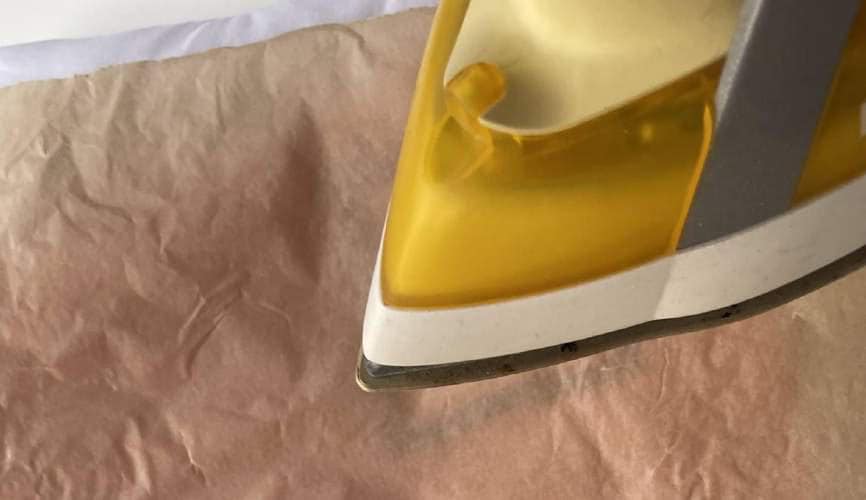
Apply it to your garment. Press down on your iron and apply pressure to each part of the design for around 10-20 seconds. Some types of HTV will require more or less heat.
Press and hold, and move to the next area. For this reason, it is recommended to cover your garment with a cover sheet, or craft paper, this will prevent burning your garment.
Turn your garment inside-out and iron on the item's rear side.
Congratulations! You are done with your project!
_________________________________________________________
HTV and glitter designs by Artapli
Please view designs specially made for using HTV vinyl and glitter in my shop:
Glitter HTV vinyl Handwritten Font
Faux chenille glitter HTV Font
Faux chenille glitter HTV Narrow Font