
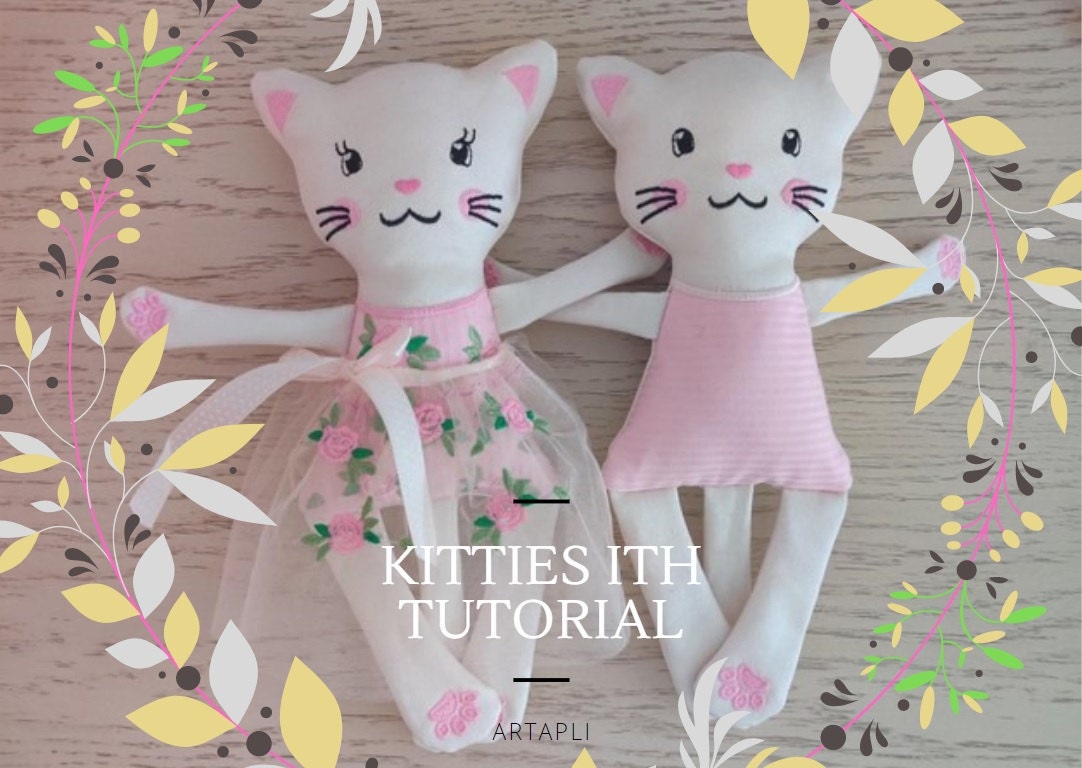
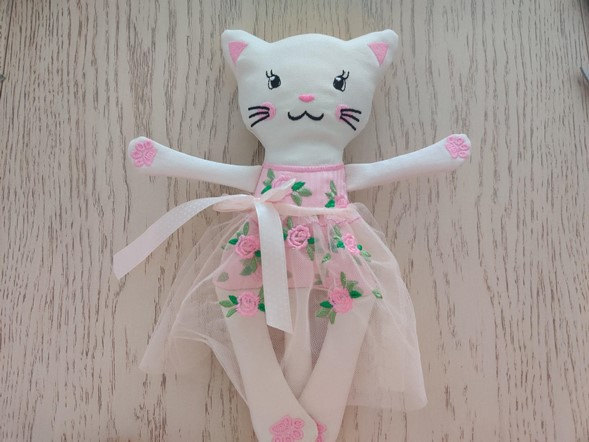
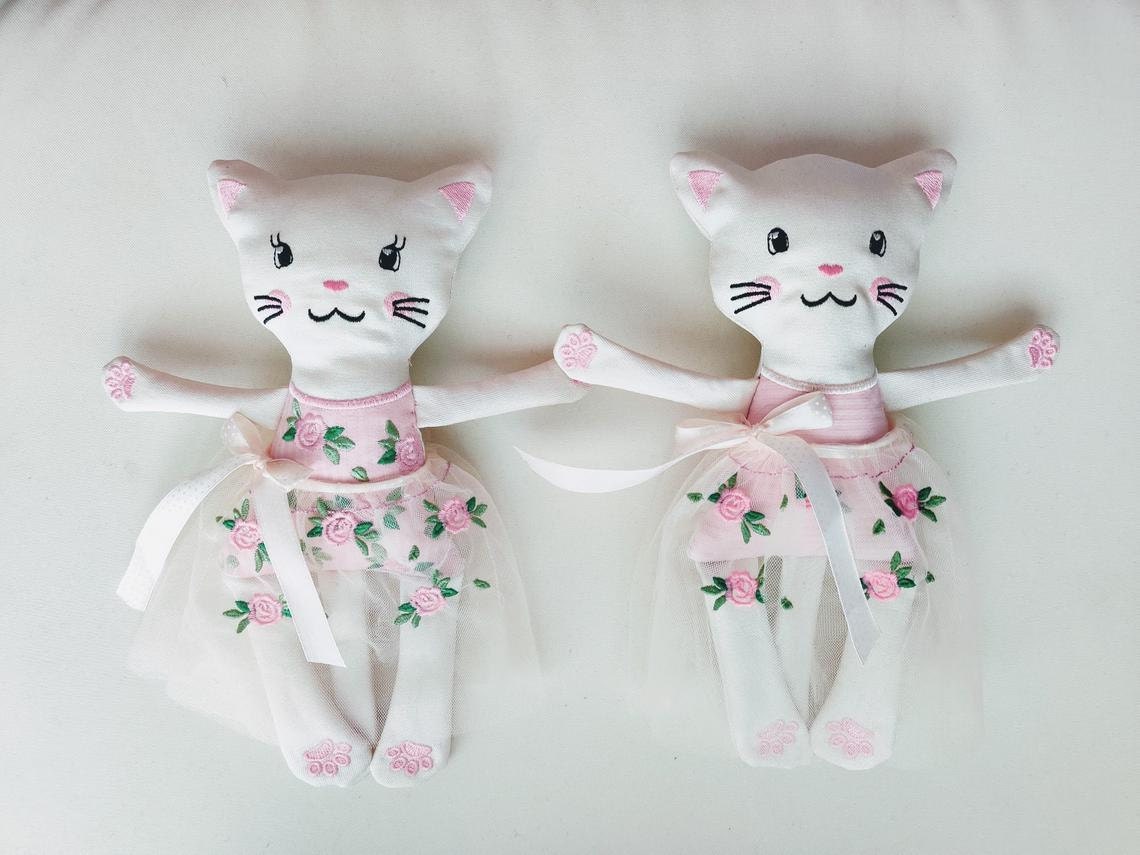
The embroidery design for these kitties is available here:
https://www.etsy.com/listing/781620582/pretty-kitties-cat-ith-embroidery-in-the
To make these adorable kitties it is recommended to use Bi-stretch fabric that stretches in both length and width, for example, Minky fabric. But kitties may be also made from medium weight cotton fabric, which requires some turn in skills.
Designs are made for hoop 5x7, but I used my bigger hoop since I did 2 kitties at once. I also recommend using a bigger hoop so it will be easier to “manage” details.
In the download folder are included files:

- Kitty_body1
- Kitty_body2
- Paws
- Skirt
- Tail
To make a kitten you will need first do paws and tail ready
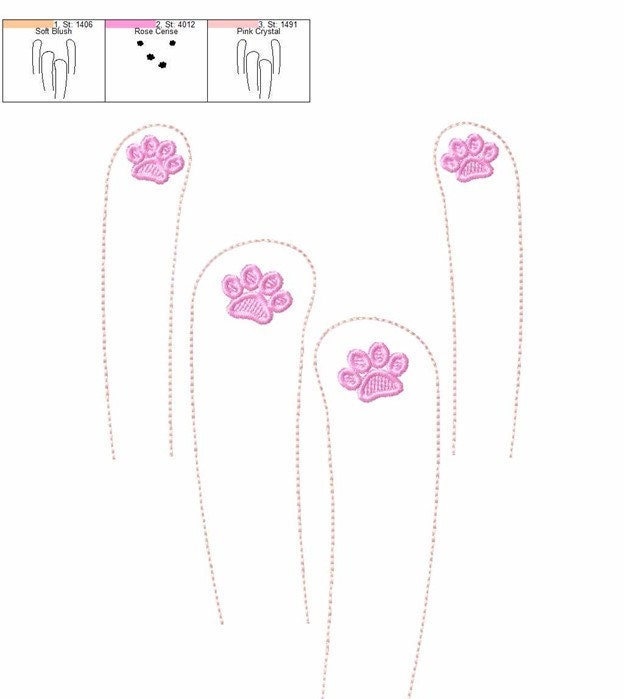
Embroidering Paws
- Hoop tear away stabilizer with one piece of minky fabric or medium weight cotton fabric right side up.
- Stitch the outline and paws. Do not unhoop your project yet!
- Lay flat on the second piece of minky right side down.
- Sew the outline.
5. When the design has finished, unhoop your project.
6. Gently tear away the excess stabilizer. Cut out the paw shapes.
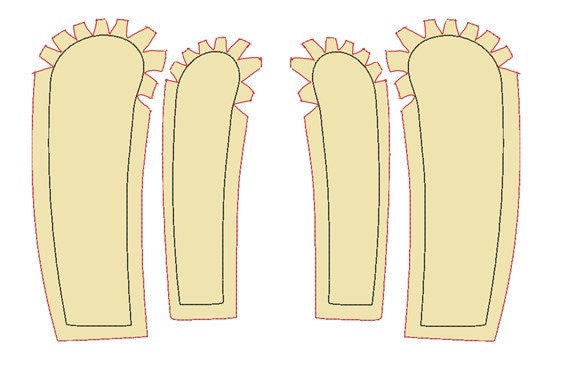
7. Trim and clip your seam allowances so they’re not so bulky – I trim and clip the curved edges so they will lie flat when pressed. Be careful do not to cut the seam!
8. Turn right side.

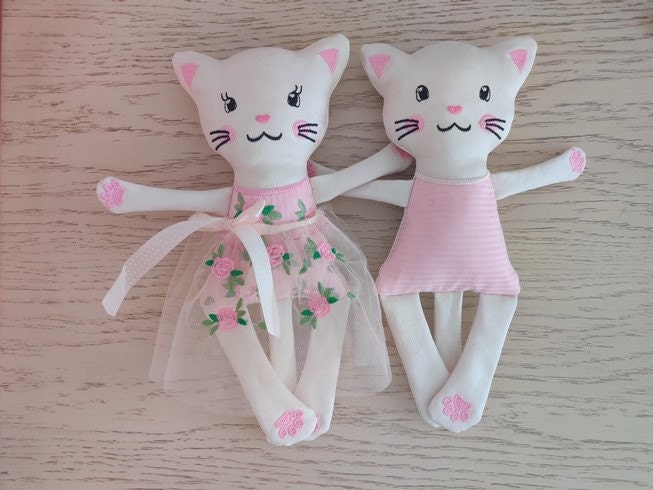
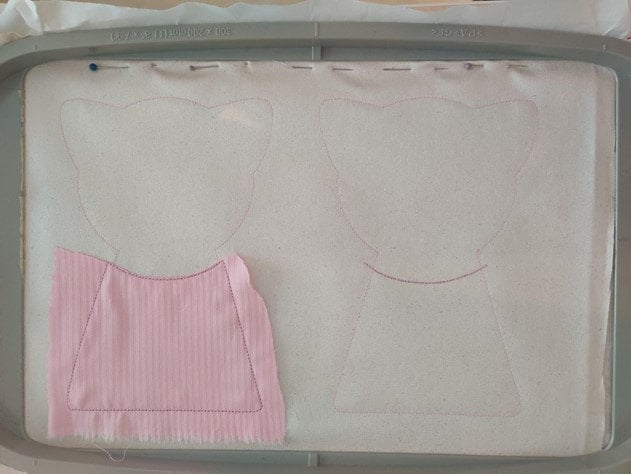
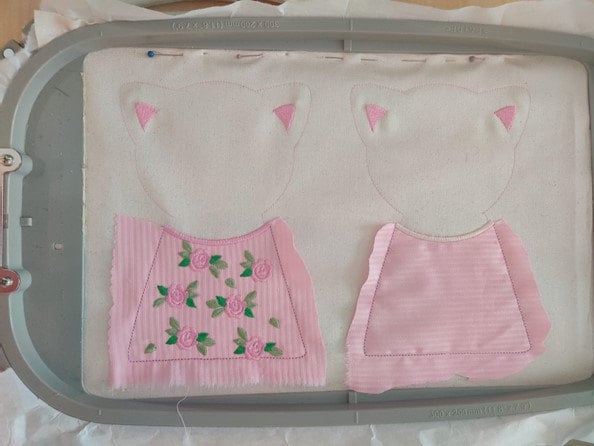
Kitty head and body / one file
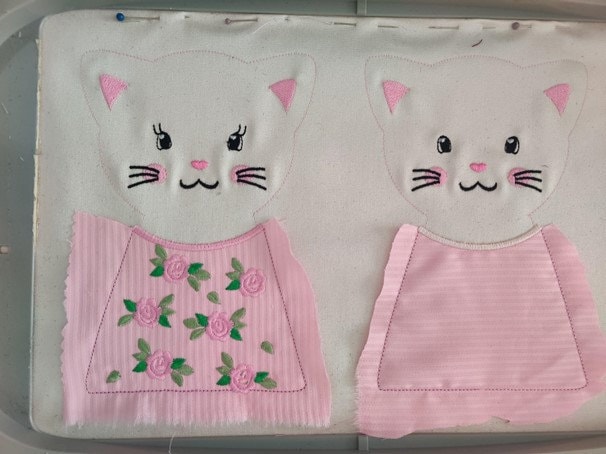
There are included 2 versions of kitty bodies in the folder, one of kitties has eyelashes and roses.
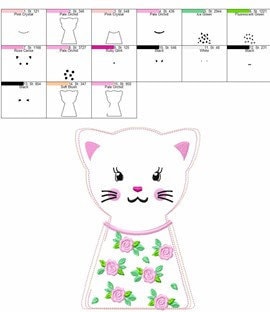
The second one is blank.

Hoop tear away stabilizer with one piece of minky fabric.
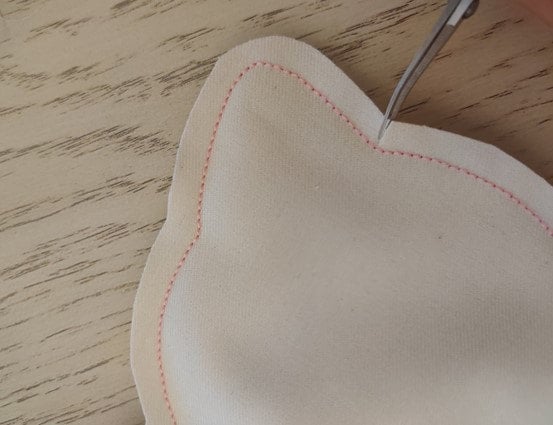
Stitch the kitty outline, eyes, nose, cheeks, ears, make kitty body applique. When everything is stitched, pause before the last seam - outline.
First will be Kitty outline and bodice applique, this is optional and may be skipped.
Then the decorations and face.
Just complete everything before the last two steps.
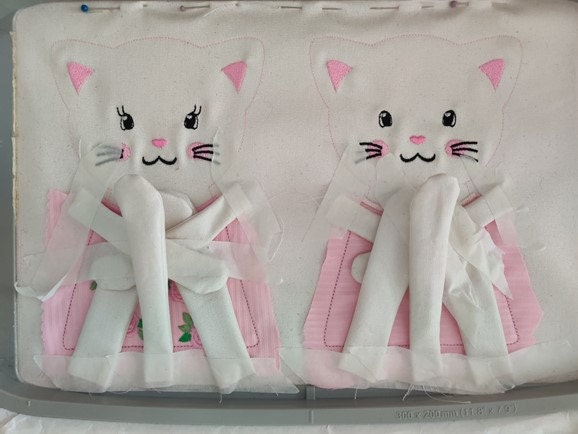
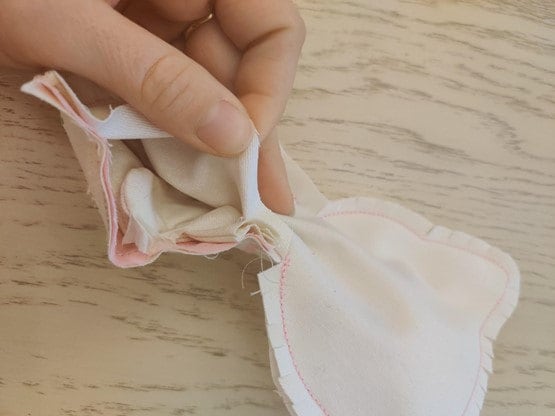
Now is time to use paws and tail. Arrange details how they will be when the kitty is turned out.
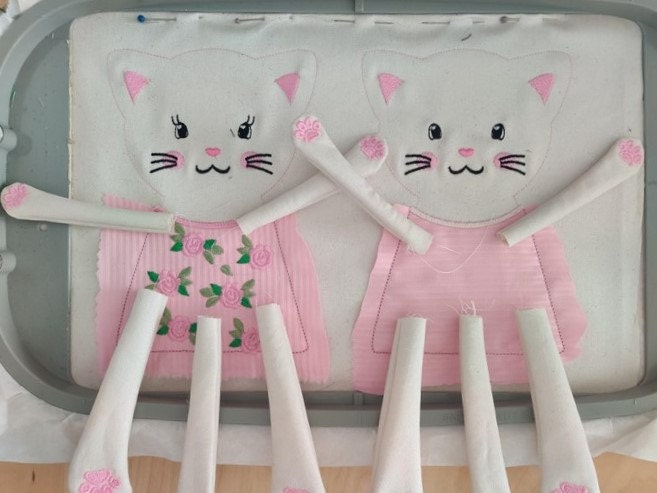
Lay the right inside the shape.
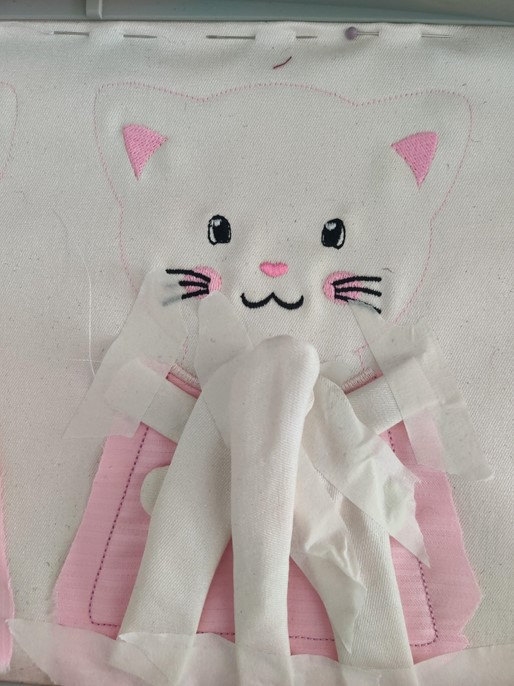
Yes, it is the most complicated step, just lay them step by step and fix them with a tape (I am impatient and lay them all at once and taped).
“Legs” looking upside
“Hands” criss cross
Tail looking upside
You may run the last stitch outline seam to make sure that details are in place (usually I skip this step).
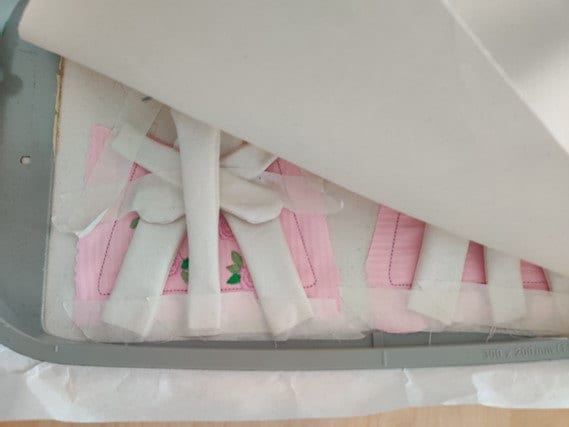
Lay the second piece of fabric on right sides together. Stitch the last seam outline.
Tip: select the outline thread color close to the fabric color.
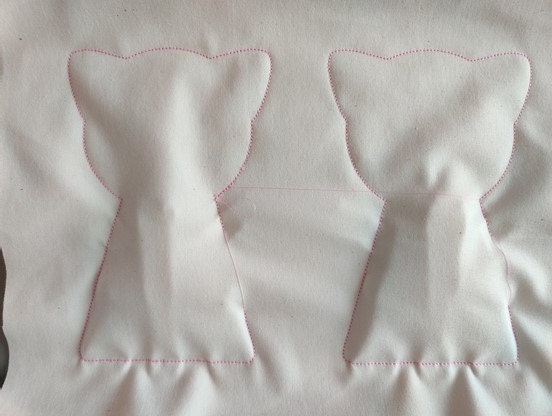
Unhoop, cut out the shape, optional use the zig-zag scissors. If you use the regular scissors, be sure to make cuts into seam allowance every ⅓ inch.
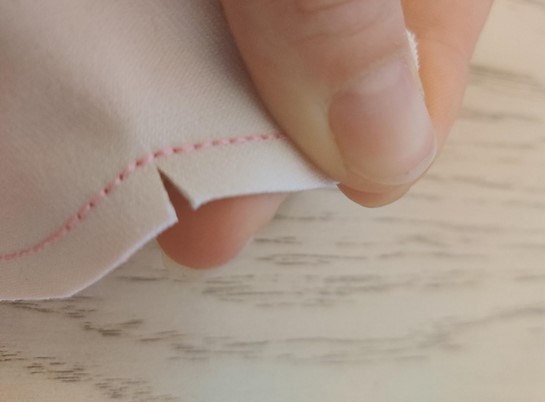
Clip into the seam allowances along the curves. Make cuts as close as possible to the seam. Be careful do not cut the seam!
The most important thing is to have cuts on the neck and ears!

Remember, do not cut the seam!
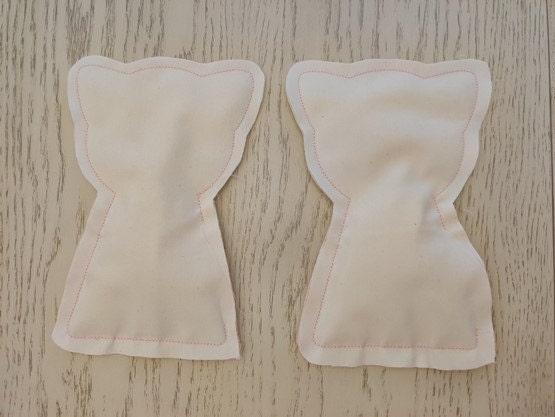
Gently tear away the stabilizer. Turn the kitty out through the hole.
Pin the opening and sew the opening by hands.
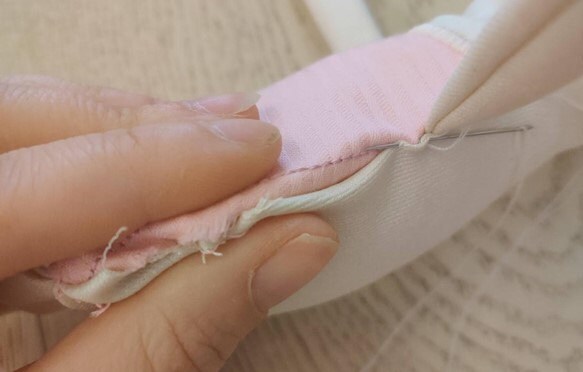
Stitching with two strands of the thread will provide added strength to your finished seam. The knotted end hide inside of the project.
Use ladder/invisible stitch (youtube video: https://www.youtube.com/watch?v=WbE5hXt27uU)
Congratulations on doing the hardest seam to close your project!
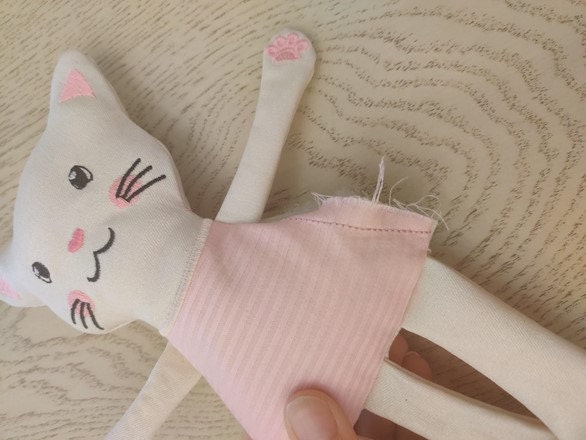
Kitty clothing
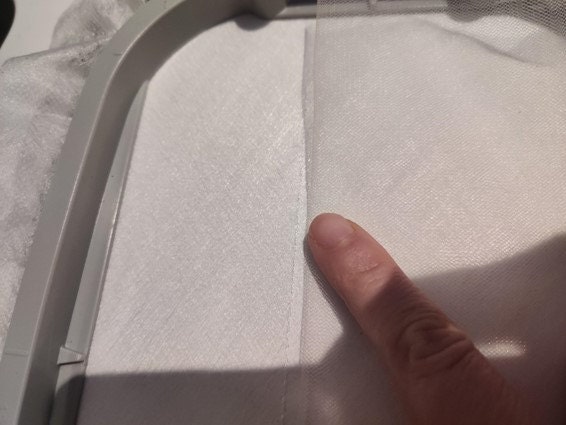
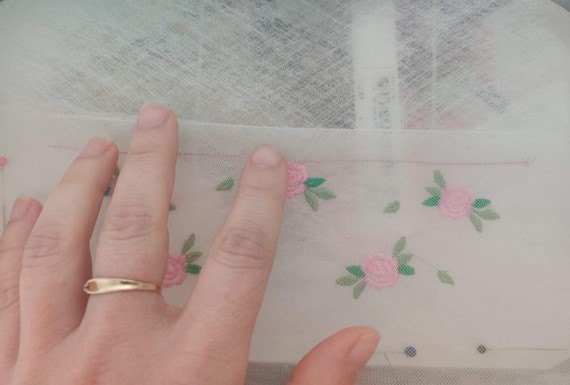
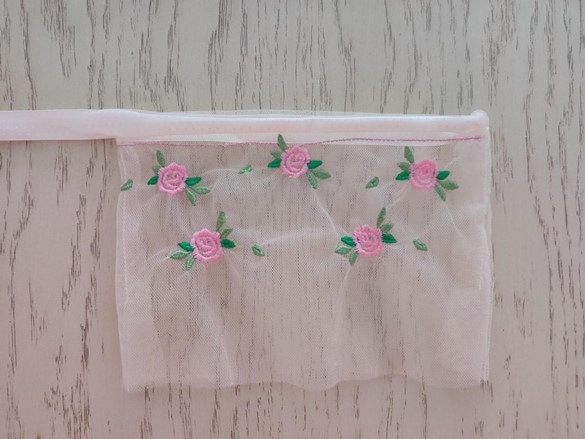
You will need 2 fabric pieces in sizes 12x9 in. I used tulle and water soluble stabilizer. It may be thin cotton and tear away stabilizer. Tulle requires some stitching skills.
Stitch the straight line - guideline directly to your stabilizer. Take a piece of fabric and fold it in half and lay right inside the shape along the guideline.
Folded edge will be on top of the skirt and tape or pin piece in place.
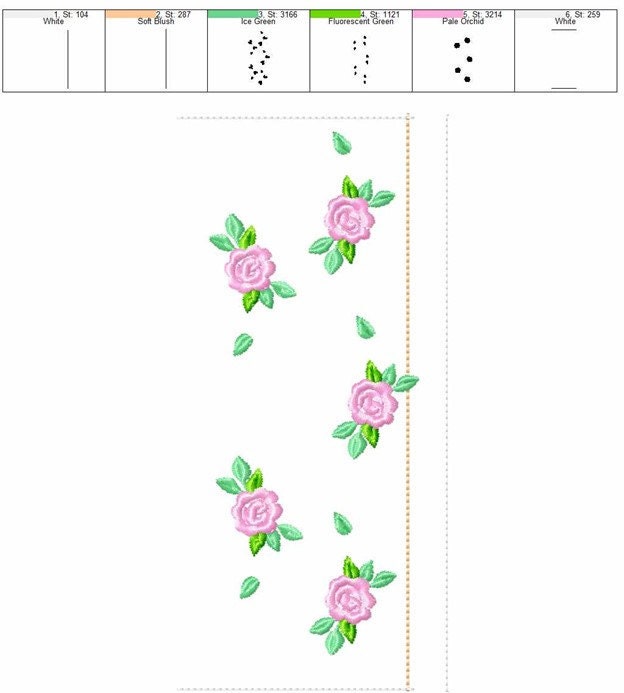
Stitch colors 3, 4 and 5.

Fold the second piece of fabric in half and lay over the stitched detail, line up the folded edge with the folded edge of the first fabric piece.
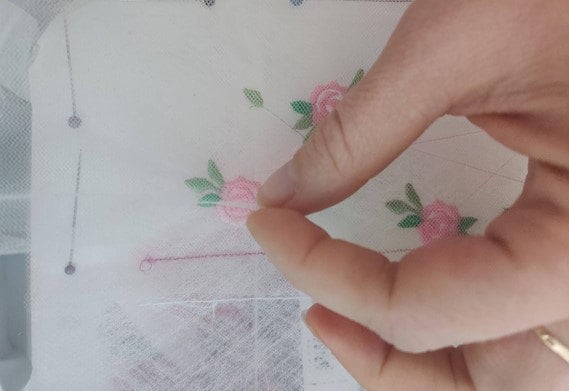
It is helpful to use the tape to make sure the fabric stays nice and flat while stitching.
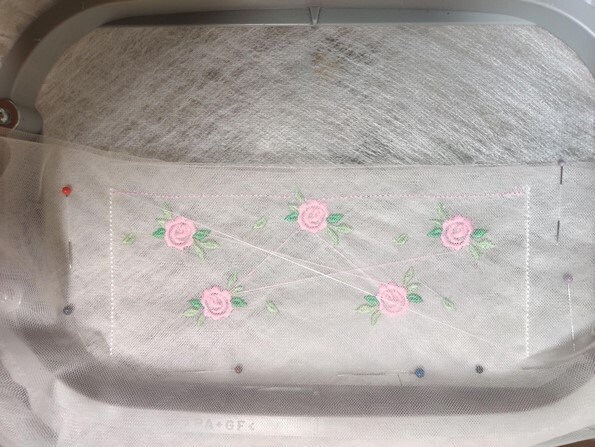
Stitch side seams. Unhoop and rinse the water soluble stabilizer away.
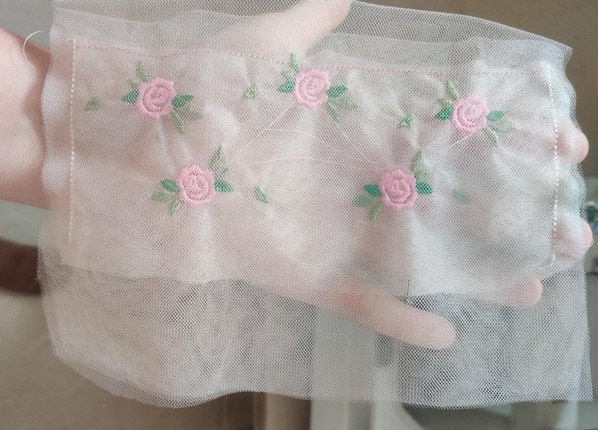
Insert the trim to the channel.
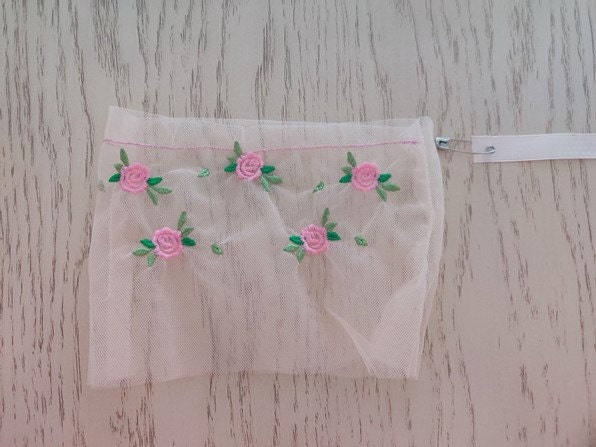
Congratulations! You are done!
Thank you for watching!
Kittie ITH embroidery design is available here:
https://www.etsy.com/listing/781620582/pretty-kitties-cat-ith-embroidery-in-the
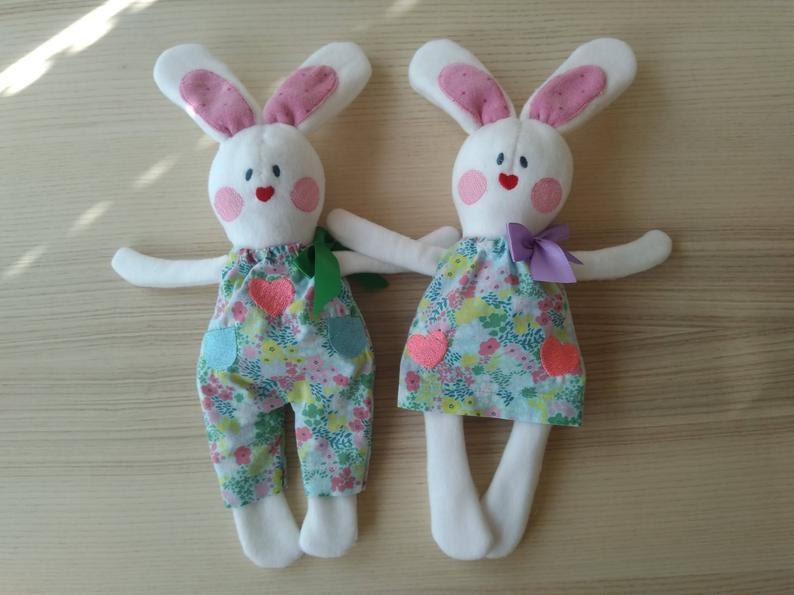
Also you may be interested in bunny toy
https://www.etsy.com/listing/583751538/pretty-bunnies-ith-embroidery-in-the
Visit my shop Artapli.etsy.com for more than 4000 embroidery designs for your successful embroidery project.